Resource files and links
A video showing how easy the setup process can be, with detailed commentary, is here: Setting up the SkyStopper
This page and links are to provide information and updates to owners and potential owners of equatorial platforms in general and SkyStopper in particular.
This is the authoritative manual for all aspects of the SkyStopper. If you have a question, i will try to include the answer in the User Guide but i don't recommend you print it. It has cool clickable reference links in it
One of my beta testers condensed the manual into what he regards as the essentials. I think it's pretty good, so here is the Executive Summary of SkyStopper Manual
Here's a link to a report on an Intelliscope, using it on an equatorial platform. Note that he did not stop the intelliscope clock, and the platform needed to be reset before each new target is sought. (or re-sought). The SkyStopper makes the process of rewinding to a known position and holding there convenient. If you own an Intelliscope, once you have the object centered, you can start the tracking again. Intelliscope on Atomic Platform
Update: I have a customer who found a reference to 'platform mode' on the Intelliscope controller. Here's the details especially page 23... A version of the Intelliscope controller manual Basically, you can turn off the IntelliScope clock. That means you should align it on the platform, while the platform is running. It will then work perfectly until the end of travel, at which time you need to rewind the platform, and re-align the intelliscope again. Not perfect but an alternative to having the clock running, and re-centering the platform for each new object. With the clock off, you can simply move to the next object without doing anything to SkyStopper.
Many people have written about their platform designs. Over the years I have seen many accounts of people who built their own platform and are happy with it. I too built my own platform several times before optimizing the design for custom work. I salute all the designers. They know the tribulations of the process.
Andre' page is a classic viewed by many people. He shows an excellent graphic for using a platform to get polar alignment, taking advantage of the fact that you can go from beginning to end of travel. On the skystopper, with the linkage removed, you can ask me to put some positive latches at the end of travel to make this easier. However, the up/down alignment won't be needed, because the bubble level is a much more efficient way to achieve that. You also don't need to slew the platform all the way to the end. But the farther, the better. You can use the features of the platform for alignment using Polaris: Andre's platform with resources about alignment
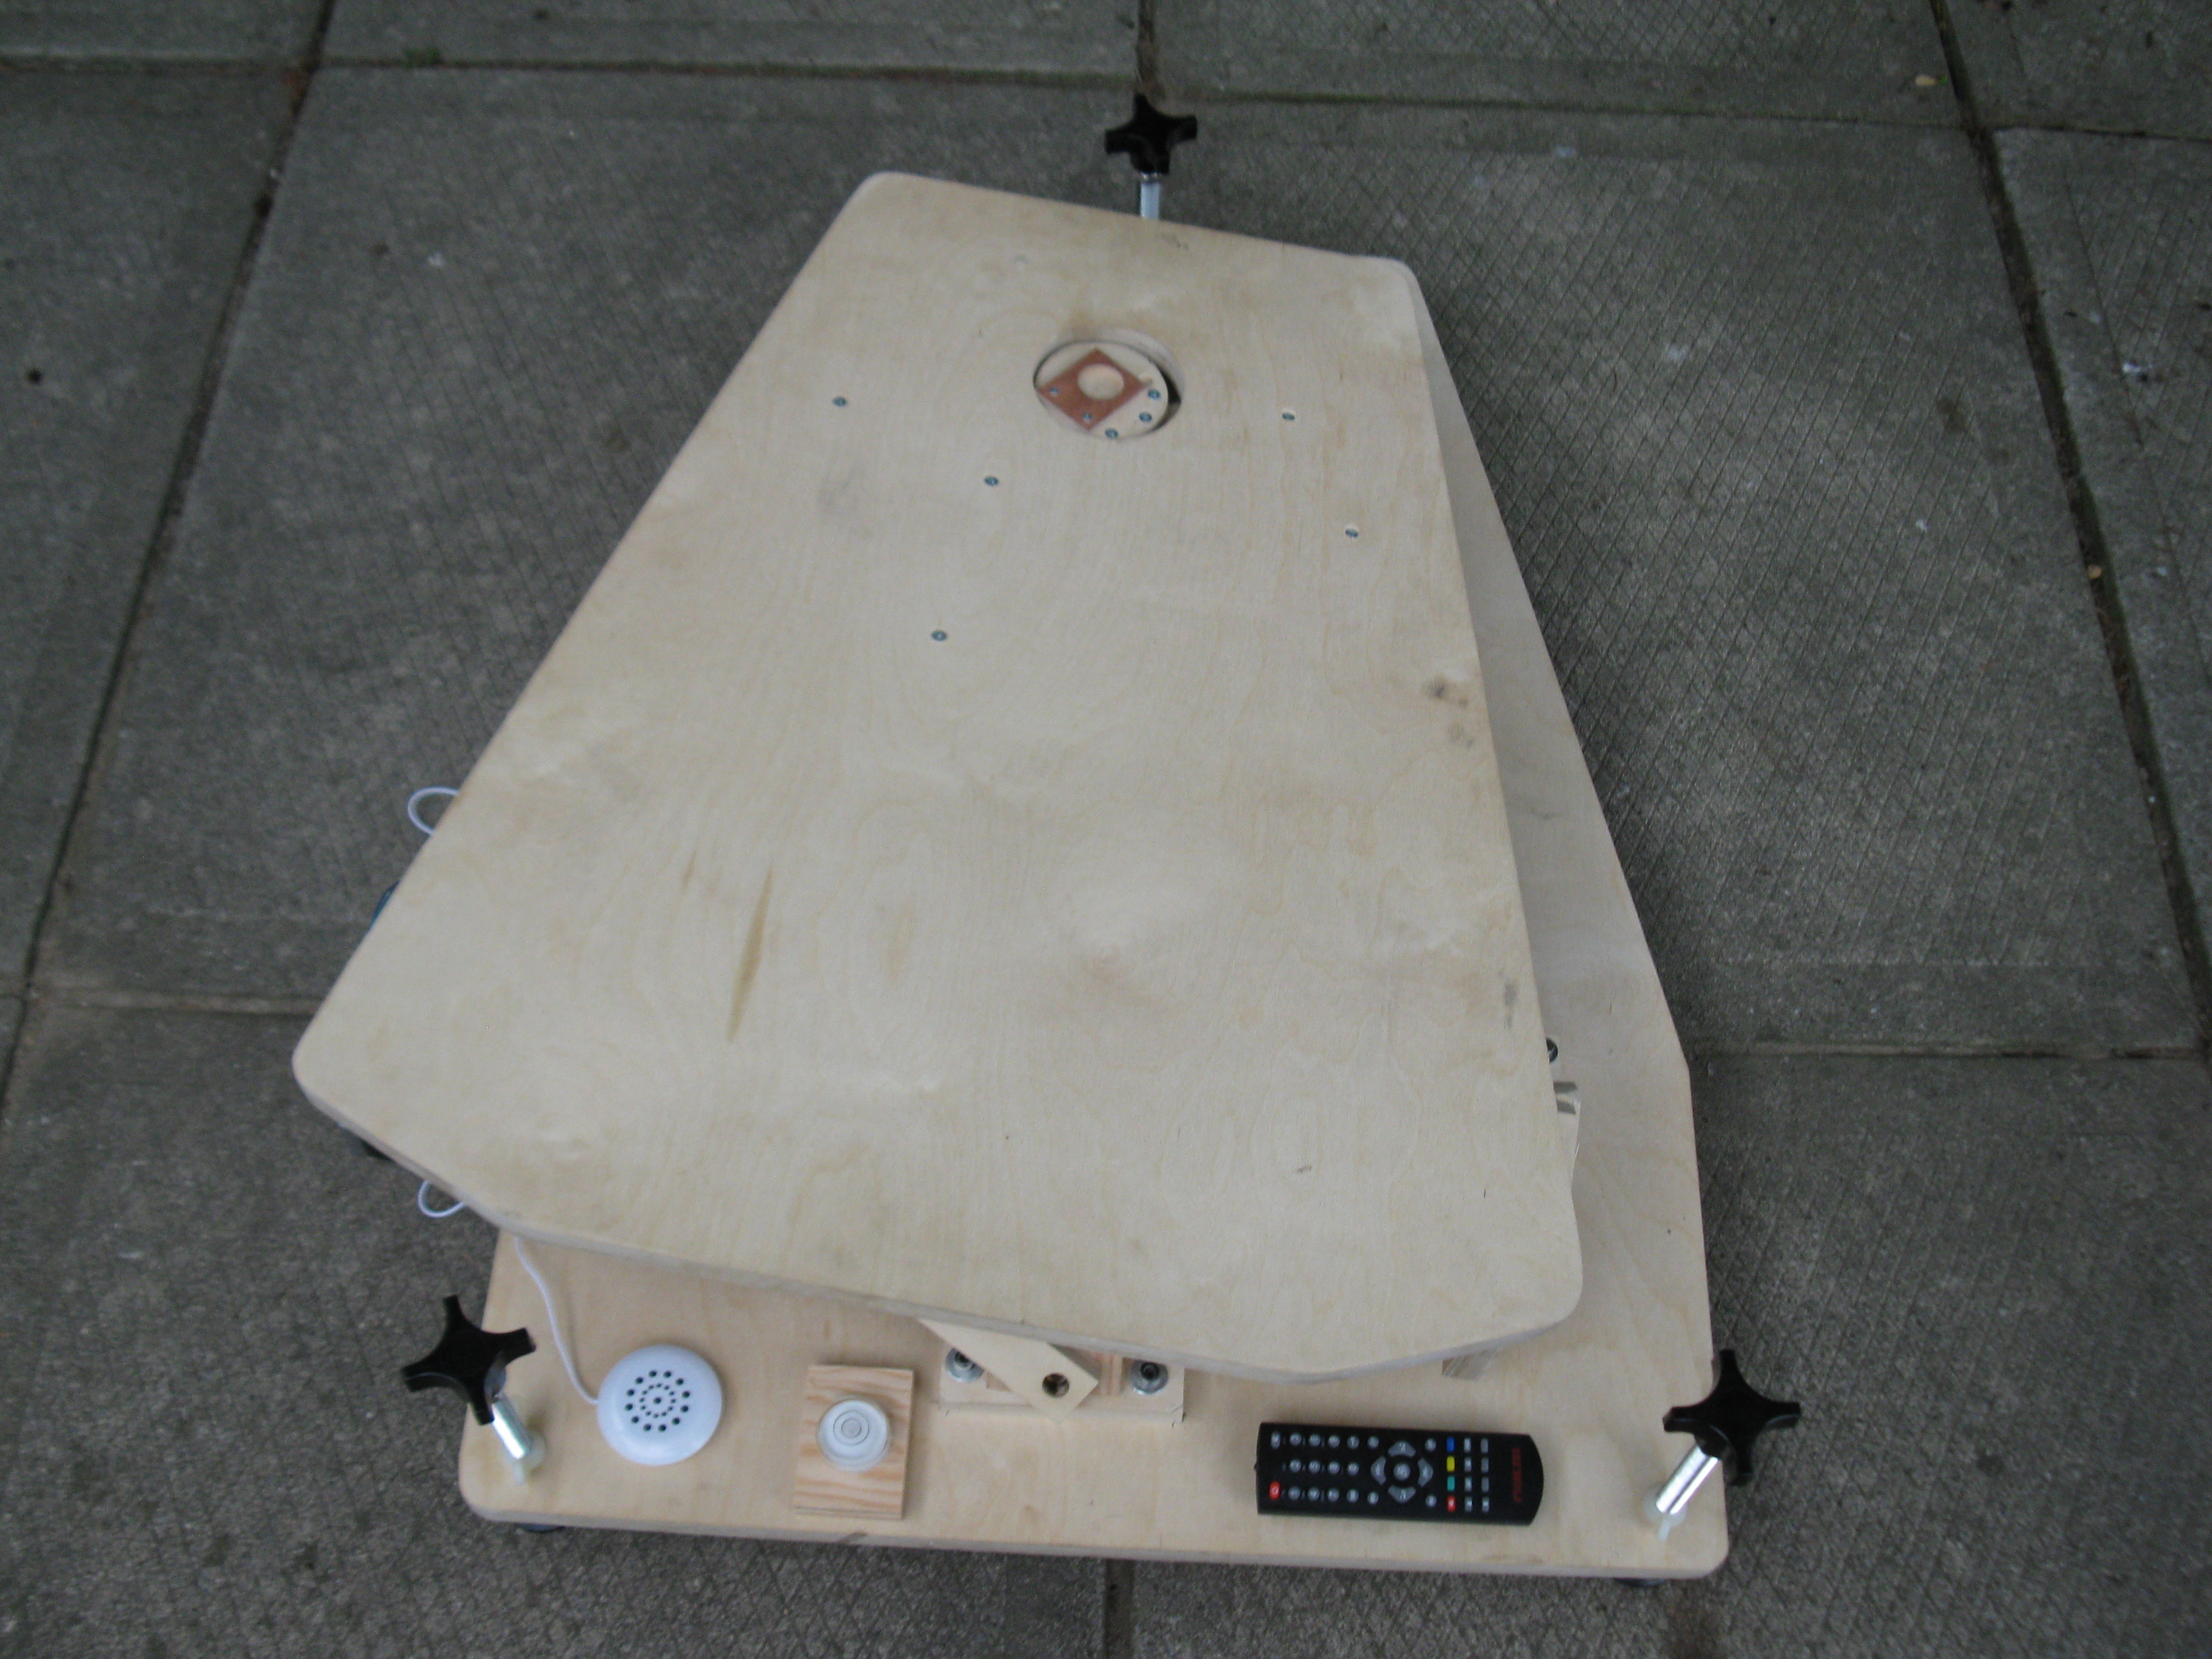
Spare Parts Skystopper uses a gear reduced DC motor with an encoder. The motors are freely available in USA via this link: If you ask, i will make a video showing in detail how to replace a motor. Unless it jams suddenly, your motor won't need replacing. Gear Motor 298:1 reduction, with 12 pulse per rotation encoder
How to modify the Atxmega bootloader for USB DFU programmer and FLIP.
Here is the way I changed the standard USB bootloader to use the pushbutton in my design. The key detail is that the source on the net is useless because it won't compile with the standard tools. You are better off to adjust it by editing the hex file according to the below information, or wire your project to use the same pushbutton as the demo board. This might be impractical if you are using the atxmega internal peripherals such as PWM on the pin the demo board uses for the button.
The standard available bootloader for atxmega 256a3bu is on the atmel site in a zip file here. Look under xmega/bootloaders/binaries in the zip tree you get. There's one for every kind of USB ATXMEGA i have seen. So rather than downloading a giant development system, or trying to port the code to your IDE (it uses nonstandard argument passing when calling subroutines, so that's why it's small and a nightmare to port. Avoid. Do this instead...
To edit it, you need to know just a bit about the .hex format. Specifically, the checksum at the end of the line makes it all add up to 0, so you need to subtract from that byte, whenever you add to a different byte in the row. There's 3 offsets you care about. 0012 where the port is selected for the pullup. On the 256a3bu, the port is 0x610-0x617 for port A bit 0 to 7 respectively. Use 0x630-0x637 for port B, etc. The code will put an 0x18 in there to make it a pullup. Then you need to read from the right place. For port A read from 0x608, port B, 0x628, etc. The byte gets written at offset 0x1e in the file Finally, the bit number you test, should match the pin you pulled high, and the bit number itself (0x00 to 0x07) goes at address 0x20. Here's what the file looks like for reading from portf bit3 Note that the format uses CAPS for the hex numbers.
:020000024000BC
:1000000000C00091780005FD42C0F092200608E192
:100010000093B3060FEF0A950023E9F70091A806B5
:1000200003FFECC0E0E0F0E0079116910F3F19F4F8
If you make any changes, you have to adjust the checksums at the end of the corresponding lines.